The One-to-one commands take one value as input and provide one output.
For example, you can use the rex and the norm commands to extract specific parts of the log messages into an ad-hoc field name. This is equivalent to normalizing log messages during the search. However, the extracted values are not saved.
The rex and norm commands do not filter the log messages. They list all the log messages returned by the query and add the specified ad-hoc key-value pairs if possible.
Warning
Using the rex and norm commands or the msg field on large volume of logs may severely impact system performance. If a field you are processing already contains the required information and only needs further processing, we recommend you use norm on or rex on instead.
You can use the rex command to recognize regex patterns in the re2 format. The extracted variable is retained only for the current search scope. The result also shows the log messages that are not matched by the rex expression.
Example Log:
Oct 15 20:33:02 WIN-J2OVISWBB31.immuneaps.nfsserver.com MSWinEventLog 1 Security 169978 Sat Oct 15 20:33:01 2011 5156 Microsoft-Windows-Security-Auditing N/A N/A Success Audit WIN-J2OVISWBB31.immuneaps.nfsserver.com Filtering Platform Connection The Windows Filtering Platform has allowed a connection. Application Information: Process ID: 4 Application Name: System Network Information: Direction: Inbound Source Address: 192.168.2.255 Source Port: 138 Destination Address: 192.168.2.221 Destination Port: 138 Protocol: 17 Filter Information: Filter Run-Time ID: 67524 Layer Name: Receive/Accept Layer Run-Time ID: 44 169765
You can use the rex command to extract the protocol id into a field protocol_id with the following syntax:-
| rex Protocol:\s*(?P<protocol_id>\d+)
The query format is similar to the following:
| rex any regular expression:\s+(?P<field_name>expression to capture to field)
Warning
The (?P< >) expression is part of the rex syntax to specify the field name.
You can also extract multiple fields from a single rex operation as shown below.
| rex Source Address:\s*(?P<src_address>\d+\.\d+\.\d+\.\d+)
The extracted values can be used to chart your results. For example,
| rex Protocol:\s+(?P<protocol_id>\d+) | chart count() by protocol_id
Since the rex command acts on the search results, you can add it to a query string as shown below:
Windows Filtering AND allowed | rex Protocol:\s+(?P<protocol_id>\d+)
user=* | rex on user:\s+(?P<account>\S+)@(?P<domain>\S+) |
chart count() by account, domain | search account=*
Refer to Important Consideration for escaping special character.
You can use the norm command to extract variables from the search results into a field. It supports both normalization syntax and re2 syntax.
Example Log:
Dec 17 05:00:14 ubuntu sshd[7596]: Invalid user Bob from 110.44.116.194
To extract the value of the user into the field user, use the following syntax:-
| norm Invalid user <user:word>
And this can also be used to chart in the graph as follows.
| norm Invalid user <user:word>| chart count() by user
You can also use the norm command to extract multiple key-value pairs as shown below:
| norm Invalid user <user:word> from <source_ip:ip>
| chart count() by my_user, msg | search my_user=*
If you are using square brackets ([,]) in a search command, wrap them in single quotes (’) to escape them, as they are reserved for stream syntax in correlation queries.
Example:
| norm on user <my_user:'['A-Z']'> | chart count() by my_user
However, to extract the literal square bracket from the log, use signatures.
Refer to the List of Definers for the built-in regex syntax available in norm commands.
You can use the fields command to display the search results in a tabular form. The table is constructed with headers according to the field-names you specify. Logpoint returns null if the logs do not contain the specified fields.
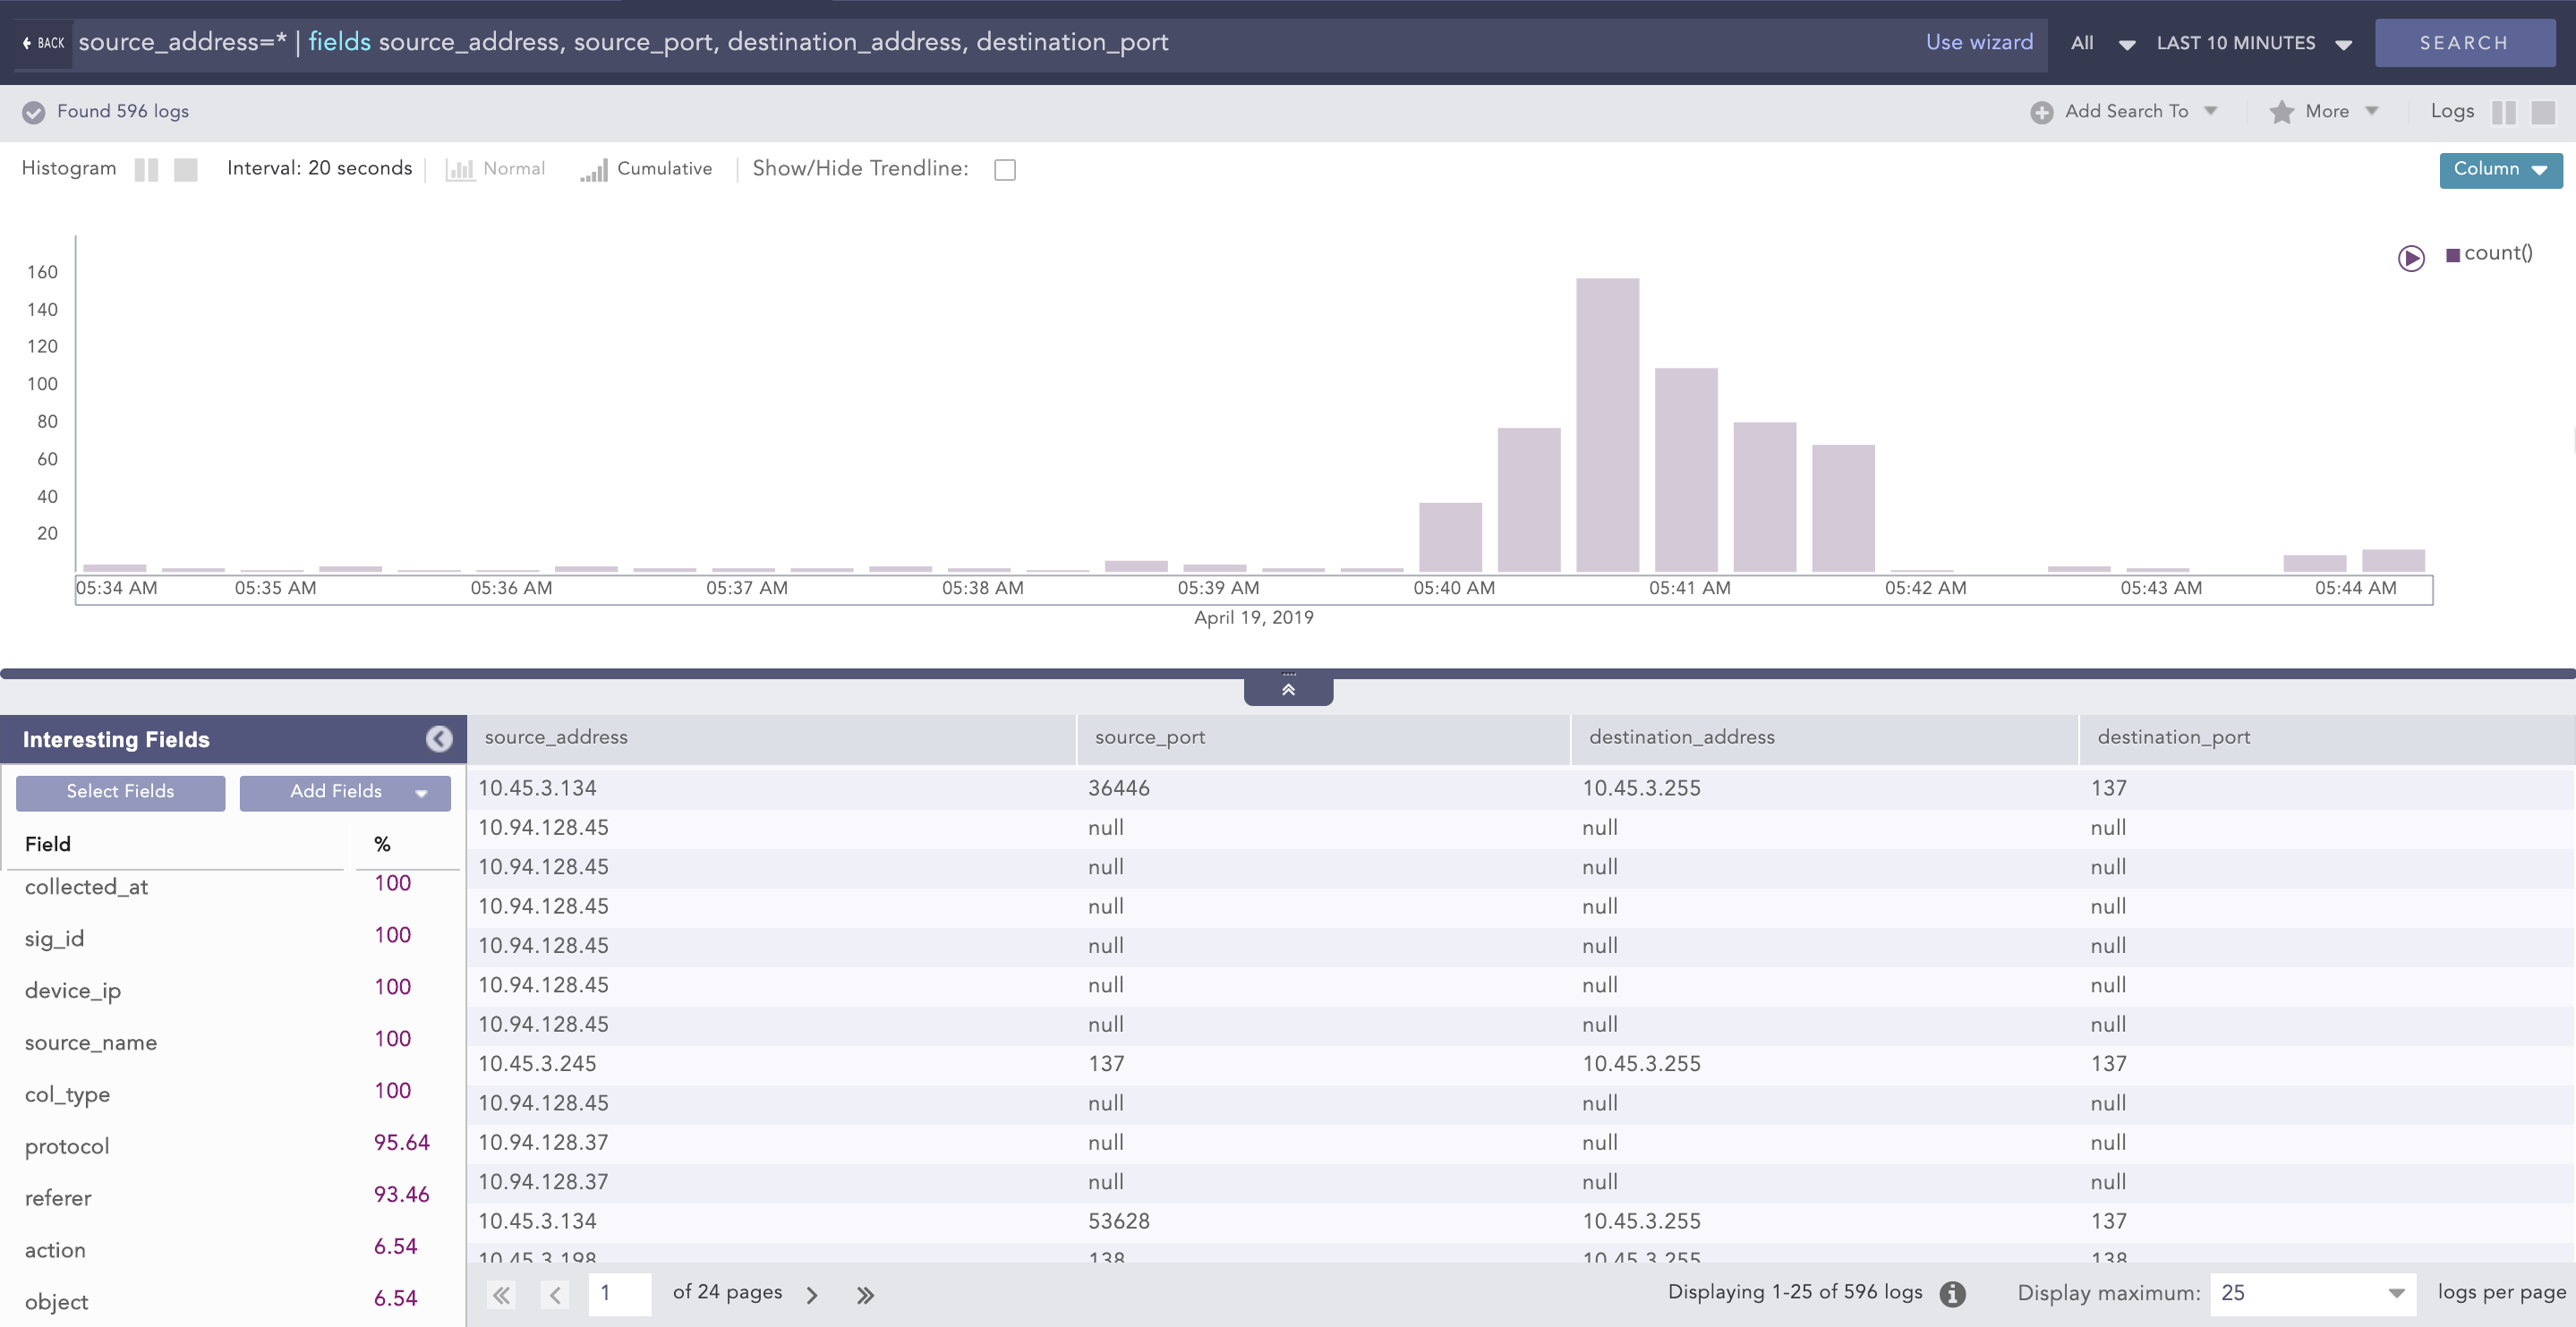
Count of logs using fields command
| fields source_address, source_port, destination_address, destination_port
Here, the fields source_address, source_port, destination_address, and destination_port are displayed in a tabular form as shown above.
Any log message without the field destination_port has a corresponding row with the destination_port column value as -N/A-.
You can use the rename command to rename the original field names.
Example:
| rename device_ip as host
When multiple fields of a log are renamed as the same name, the rightmost field takes precedence over others and only that field is renamed.
Example:
| rename source_address as ip, destination_address as ip
Here, if both the source_address and destination_address fields are present in a log, only the destination_address field is renamed as ip in search results.
The log messages after normalization can have different field-names for information carrying similar values. For example, different logs may have name, username, u_name, or user_name as keys for the same field username. To aggregate all the results and analyze them properly, you can use the rename command.
| rename target_user as user, caller_user as user | chart count() by user
In some cases, the field names can be more informative with the use of rename command as below:
label = Attack | rename source_address as attacking_ip |
chart count() by attacking_ip